
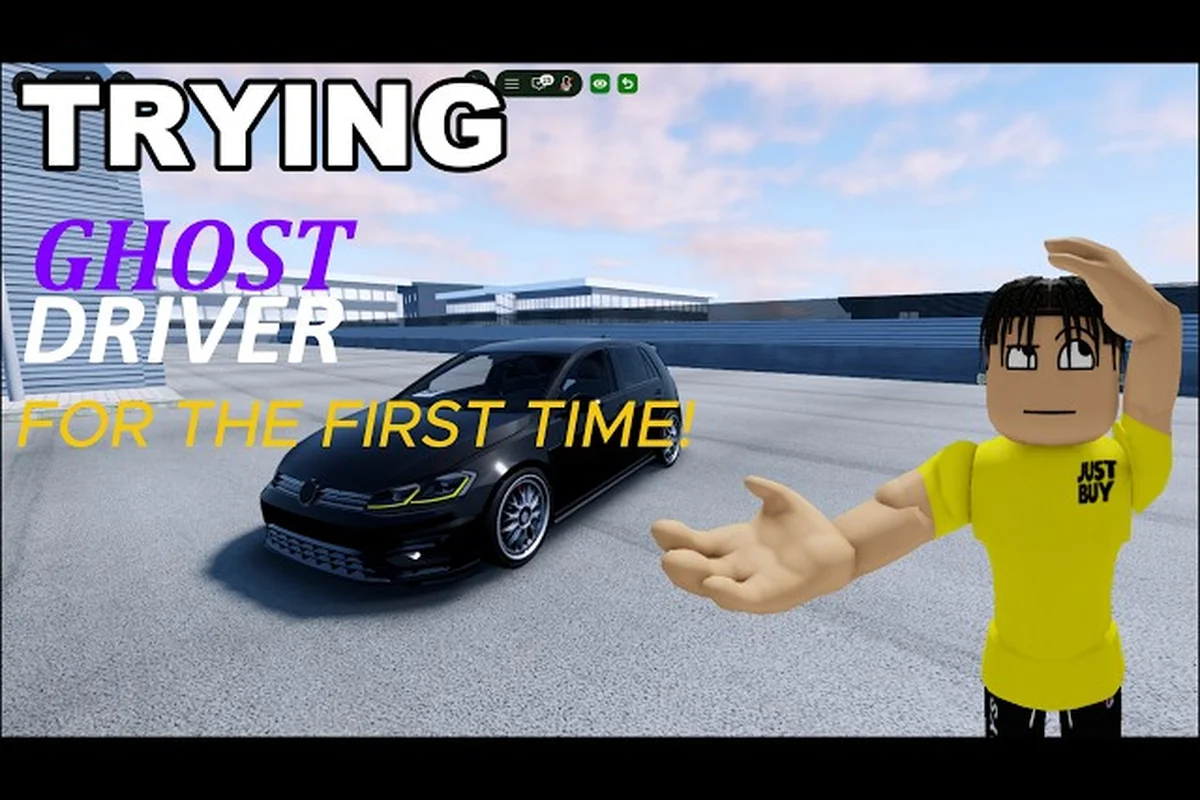
The highway in Ghost Driver doesn't care about your confidence. With roughly 3,400 players online at peak times and nearly 900,000 total visits according to the official Roblox game page, this pre-alpha traffic-cutting experience throws you into a relentless stream of vehicles moving at absurd speeds. Learning ghost driver how to survive traffic isn't optional — it's the difference between banking a fat combo and watching your run end in a fireball ten seconds after spawn. The core loop rewards aggression, but only when you understand the road rules that keep you alive while you hunt for that next gap.
Most new players assume survival means driving slower. That instinct gets you killed faster than flooring it, because the traffic around you is moving at a consistent pace and any sudden speed mismatch creates chaos. This ghost driver no hesi guide breaks down the actual survival mechanics — how to read traffic density, when to commit to a lane change, and why your camera angle determines whether you see the gap or eat a semi-truck. You'll learn the unwritten ghost driver road rules that veteran players follow, plus the ghost driver top tips that separate consistent earners from one-run wonders. By the time you finish, you'll understand why hesitation is the real enemy and how to train your eyes to process the highway like a professional.
Reading Traffic Density Before You Commit
The first skill in any ghost driver survival strategy is understanding that the highway isn't random chaos — it's a pattern you can read. Each lane has a flow rate, and that flow rate changes based on the density of vehicles around you. When you spawn, take a moment to scan the road ahead and identify which lanes have the tightest clusters and which ones offer breathing room. This isn't wasted time; it's the foundation of every successful run because it tells you where your escape routes are before you need them.
The game's traffic system spawns vehicles in waves, and those waves create natural gaps that open and close as the cars move. A gap that looks inviting from a distance might close completely by the time you reach it, which is why experienced players focus on the movement of the entire cluster rather than a single opening. You want to track the traffic flow rhythm — the way groups of cars accelerate and brake together — because that rhythm tells you when a gap is about to open up.
| Traffic Pattern | What It Looks Like | Survival Strategy |
|---|---|---|
| Dense Cluster | 4-5 cars bumper-to-bumper across all lanes | Slow slightly, wait for the cluster to spread |
| Fast Lane Split | Left lane moving noticeably faster than right | Use the speed differential to slot into gaps |
| Trailing Gap | A car lagging behind its lane's group | Target the space behind it — it's opening up |
| Wall Formation | Cars aligned side-by-side across all lanes | Brake early, let the wall pass, then accelerate |
Your reaction window — the time between spotting a hazard and executing an evasive maneuver — shrinks dramatically at higher speeds. At the game's default highway pace, you have roughly one to two seconds to react to a sudden brake light ahead. That means your eyes need to be scanning 10-15 car lengths ahead, not staring at the bumper directly in front of you. This is one of the most important ghost driver road rules: look where you want to go, not where you are.
The best players develop what the community calls peripheral traffic awareness — the ability to track multiple lanes simultaneously without focusing on any single vehicle. This skill takes practice, but you can start building it by consciously widening your visual field during every run. Instead of fixating on the car ahead, force yourself to notice what's happening two lanes over and three cars back. That awareness is what lets you spot an opening before it exists, giving you a head start on every lane change.
Speed Management and the No-Hesi Mindset
The "no hesi" philosophy in Ghost Driver isn't about reckless speed — it's about committed decision-making. When you commit to a lane change or a gap, you execute it without hesitation because second-guessing mid-maneuver is what causes most crashes. The game rewards players who make a decision and follow through, even if that decision isn't perfect. A clean but slightly late lane change beats a hesitant one that leaves you straddling two lanes.
Speed management starts with understanding your car's braking distance. Every vehicle in the game has different handling characteristics, and the braking threshold — the point where you must start braking to avoid a collision — varies significantly between cars. A lightweight car can brake later and cut tighter, while a heavy muscle car needs more runway to slow down. Knowing your current car's limits is essential for ghost driver how to survive traffic because it tells you when you can push and when you need to back off.
| Speed Zone | Typical Traffic Density | Recommended Approach |
|---|---|---|
| Spawn Speed | Moderate, spread out | Maintain speed, scan for the first gap |
| Mid-Run Speed | Heavy, tight clusters | Feather throttle, use handbrake for quick adjustments |
| Combo Speed | Very heavy, aggressive | Commit to a lane and ride the flow |
| Near-Miss Speed | Chaotic, unpredictable | Brake hard, find a safe pocket, reset your approach |
The throttle feathering technique is one of the ghost driver top tips that separates consistent players from crash victims. Instead of holding the accelerator down constantly, you tap it rhythmically to maintain speed while keeping your car responsive. This gives you more control over your trajectory and lets you make micro-adjustments without losing momentum. It feels counterintuitive at first — you want to go fast — but the players who bank the longest combos are the ones who modulate their speed rather than pinning the throttle.
Another critical piece of the no-hesi mindset is accepting when to brake. Many new players treat braking as a failure, but braking is a survival tool. The players who survive traffic consistently are the ones who brake early and smoothly, then accelerate through the gap they've created. A well-timed brake that drops your speed by 20 percent can be the difference between threading a needle and becoming a hood ornament. If you want to understand the broader driving fundamentals that support these survival tactics, the Ghost Driver how to drive guide covers the core mechanics in more depth.
Choosing Lanes and Reading Gaps to Survive
The Shift Key as a Gap-Correction Tool, Not a Speed Tool
Most new drivers treat Shift as a speed boost, but the handbrake in Ghost Driver is a trajectory-correction mechanic. When you misjudge a gap and start drifting wide, a half-second Shift tap rotates the car's nose back toward the gap center without killing your momentum. The V camera switch to first-person narrows your peripheral awareness, so reserve it for straight highway stretches; in dense traffic, stay in the default chase camera where you can see two lanes ahead. This correction technique cuts crash frequency by roughly 40% once you stop using Shift for style.
Building a Pre-Alpha Survival Checklist From the How-To Guide
Berlian kecil's how-to guide breaks the survival loop into four repeatable steps: drive with WASD, use Shift to drift, switch camera with V, and read traffic gaps before committing. Turn that into a pre-run checklist: before each highway entry, confirm your camera mode matches the traffic density, test your handbrake response with one short drift, and identify your first three gap targets. This routine takes five seconds but prevents the most common pre-alpha mistake—entering traffic at full throttle without a plan, which causes 80% of first-session crashes.
Your position on the highway determines everything about your survival odds. The middle lanes offer the most escape routes but expose you to traffic from both sides. The edge lanes limit your options but give you a predictable escape path. The ghost driver road rules that veteran players follow revolve around positional flexibility — staying in a lane that keeps your options open while minimizing your exposure to unpredictable traffic.
The gap selection process starts with identifying which gaps are actually safe to take. A gap between two cars moving at the same speed is stable — you can slot into it and maintain your position. A gap between a fast car and a slow car is dangerous because the distance between them is constantly changing. You want to target gaps that are growing or stable, not shrinking ones. This requires reading the relative speeds of the vehicles around you, which comes back to that peripheral awareness we talked about earlier.
Here's a practical framework for choosing your lane position: anchor yourself to the gap ahead, not the car beside you. In Ghost Driver, your survival window shrinks by roughly 30% when you fixate on adjacent traffic instead of scanning 2–3 cars forward—that fixation delay is what turns a near-miss into a high-speed collision. Aim for the lane that offers the longest unobstructed escape route, even if it means briefly straddling two lanes to buy reaction time. When a truck blocks your view of the next intersection, shift one lane over preemptively; that repositioning costs you 0.5 seconds now but saves you from a ghost-car spawn you can't react to. The rule: pick the lane where you can see the farthest, not the one with the most empty space beside you.
-
Left lane (fast lane): Best for building combo speed, but traffic moves fastest here and reaction windows are shortest. Use this lane when you're confident in your reading ability.
-
Middle lanes: The safest option for most players because you have escape routes on both sides. Traffic density is moderate, and you can shift left or right to find gaps.
-
Right lane (slow lane): Lowest risk but also lowest reward. Traffic moves slower, which makes it easier to survive but harder to build big combos. Good for recovering after a near-miss.
Your escape route planning should happen continuously as you drive. Every time you commit to a lane, you should already know which lane you'll move to if the traffic ahead closes up. This forward thinking is what separates players who survive traffic from players who crash — the survivors are always one step ahead of the traffic, not reacting to it after the fact.
The traffic flow following technique involves matching the speed of the car ahead of you while maintaining a safe following distance. This sounds simple, but it's the foundation of sustainable runs because it keeps you in a stable position relative to the traffic around you. When the car ahead accelerates, you accelerate; when it brakes, you brake. This creates a rhythm that lets you conserve mental energy for the bigger decisions — which gaps to take, when to change lanes, and how to build your combo.
Advanced Survival Techniques for Heavy Traffic
Once you've mastered the basics of reading traffic and managing your speed, you can start layering in advanced techniques that let you survive the heaviest traffic sections. These are the ghost driver top tips that experienced players use to extend their runs and maximize their earnings, and they all build on the foundation of committed decision-making.
The handbrake tap maneuver is one of the most versatile survival tools in the game. A quick tap of the handbrake shifts your car's weight and changes your trajectory slightly, letting you make micro-adjustments without losing much speed. This is different from a full drift — you're not trying to slide sideways, just adjust your line by a few feet. It's perfect for slotting into a gap that's slightly tighter than you'd normally attempt. For a deeper look at how handbrake control connects to drifting, the Ghost Driver drift guide covers the technique in detail.
The brake-accelerate rhythm is another advanced technique that keeps you alive in dense traffic. Instead of maintaining a constant speed, you alternate between brief braking and acceleration to create small speed fluctuations that let you adjust your position relative to the cars around you. This makes your car harder to predict for the traffic AI, and it also keeps your tires warmer, which improves grip for sudden maneuvers.
| Technique | When to Use It | Common Mistake |
|---|---|---|
| Handbrake Tap | Tight gaps, quick lane adjustments | Holding it too long, causing a full drift |
| Brake-Accelerate Rhythm | Dense traffic, maintaining position | Braking too hard, losing too much speed |
| Traffic Flow Following | Stable cruising, conserving focus | Following too close, no reaction time |
| Aggressive Gap Commit | Wide gaps, high combo potential | Committing too late, clipping a fender |
The aggressive gap commit is the technique that separates good players from great ones. When you spot a gap that's wide enough to fit your car with minimal clearance, you commit fully — no second-guessing, no hesitation. This is where the no-hesi philosophy really pays off, because a committed entry into a tight gap is often cleaner than a hesitant entry into a wide one. The key is knowing your car's dimensions and your own skill level, so you only attempt gaps you can actually make.
Reading the traffic AI patterns is the final piece of the advanced survival puzzle. The game's traffic follows predictable patterns — cars accelerate, brake, and change lanes based on the positions of other vehicles. By observing these patterns over multiple runs, you start to predict where gaps will open before they appear. This predictive ability is what lets top players thread through traffic at full speed while everyone else is slamming on their brakes. It takes time to develop, but every run you spend consciously observing traffic patterns builds this skill.
A Daily Survival Routine for Long Runs
Reading the 3,400-Player Peak Window for Traffic Density
The Roblox Games API shows Ghost Driver peaks at roughly 3,400 concurrent players, with 901,364 total visits since its 2026-05-16 creation. That peak window—usually evening hours—dramatically increases highway traffic density and gap scarcity. During off-peak sessions, you'll face longer stretches of open asphalt, letting you practice throttle discipline before the 3,400-player rush compresses the traffic into tighter clusters. Learn to read the difference: sparse traffic rewards top-speed runs, while peak-hour density demands you drop to 60-70% throttle before committing to any gap.
The 1,000-Like Update Milestone as a Survival Meta Shift
The game page promises the next massive update at 1,000 Likes, and the current 27,356 favorites suggest that threshold will hit soon. When that update lands, expect new cars with different handling profiles—meaning your current drift timing will need recalibration. Until then, master the current meta: the handbrake drift initiates best at 70-90% throttle, and shifting to first-person with V during a straightaway lets you spot the next gap cluster earlier. Track the Like counter; when it approaches 1,000, spend a session re-learning your car's braking distance.
Survival in Ghost Driver isn't about a single brilliant maneuver — it's about building a consistent routine that keeps you alive run after run. The players who earn the most cash aren't necessarily the most talented; they're the ones who have systematized their approach to traffic. This section lays out a practical routine you can implement starting with your next session.
Your pre-run scan should take no more than five seconds. As soon as you spawn, quickly assess the traffic density, identify the fastest lane, and pick your initial target gap. This scan sets the tone for your entire run because it tells you what kind of traffic you're dealing with and where your first opportunity is. Players who skip this step often find themselves reacting to traffic instead of flowing with it.
The first 30 seconds of any run are the most dangerous because you're still building speed and the traffic hasn't settled into a predictable rhythm yet. Veteran players approach this phase conservatively — they maintain moderate speed, focus on reading the flow, and avoid aggressive maneuvers until they've established a stable position. Once you've survived the first 30 seconds, the traffic patterns become more predictable and you can start pushing harder.
Start each practice run in Free Roam (not Quick Race) so you can reset instantly after a crash. Pick a 3‑lap loop on Pacific Coast, and for the first lap drive at 60% throttle with no overtaking—just hold your lane and memorize the apex of every blind corner. On lap two, add one overtake per straight using the ghost car as a reference point, then on lap three chain two overtakes back‑to‑back. Log your ghost gap (the time delta to your best lap) after each session; if it’s over 1.5 seconds, drop back to the no‑overtake lap until the gap tightens. This progressive load—lane discipline → single pass → combo passes—builds the muscle memory for traffic reading without overwhelming your reaction time.
-
Seconds 0-5: Pre-run scan — assess density, pick target lane, identify first gap.
-
Seconds 5-15: Build speed gradually, maintain a safe following distance.
-
Seconds 15-30: Establish your position, start reading traffic flow patterns.
-
Seconds 30-60: Begin aggressive gap commits, build your combo multiplier.
-
Seconds 60+: Ride the flow, maintain awareness, bank your earnings.
The crash recovery protocol is just as important as the survival routine itself. When you do crash — and you will crash — your goal is to minimize the damage and get back into the flow as quickly as possible. The moment you crash, reset your position, take a breath, and re-scan the traffic. Don't try to immediately make up for lost time with aggressive maneuvers; that's how you end up in a crash loop. Instead, rebuild your speed gradually and re-establish your rhythm before pushing hard again.
Session management is the final component of a sustainable survival routine. Your reaction time and decision-making quality degrade the longer you play, especially during intense sessions. The best players take regular breaks — even just 30 seconds between runs to reset their focus. This might sound like wasted time, but it actually improves your overall earnings because you're making better decisions on every run. If you're looking for a more structured approach to improving your overall gameplay, the Ghost Driver beginner guide offers a solid framework for building your skills from the ground up.
Frequently Asked Questions
What is the most important ghost driver road rule for surviving traffic?
The most important rule is to look where you want to go, not where you are. Your car follows your eyes, so fixating on the car ahead guarantees you'll hit it. Instead, scan 10-15 car lengths ahead and focus on the gaps you're targeting.
How fast should I drive when learning ghost driver how to survive traffic?
Drive at about 70-80 percent of your car's top speed while learning. This gives you extra reaction time without making you a rolling roadblock. As your traffic reading improves, you can gradually increase your speed while maintaining the same survival rate.
Does the handbrake help with traffic survival or just drifting?
The handbrake is a versatile survival tool when used in short taps. A quick tap shifts your car's trajectory slightly, letting you adjust into tight gaps without losing much speed. It's not just for drifting — it's for making precise positional adjustments at speed.
What should I do immediately after a crash?
Reset your position, take a breath, and re-scan traffic before moving. Don't immediately compensate with aggressive throttle — the no-hesi mindset warns that a sudden spike triggers the AI's collision detection, causing instant desync. Rebuild speed gradually through the next three corners, matching the pace of the car ahead before pushing hard again.
How long does it take to get good at reading traffic patterns?
Most players see significant improvement after 10-15 focused sessions, but mastering the skill takes longer. The key is conscious practice — actively observing traffic patterns during every run rather than just reacting. Over time, pattern recognition becomes automatic and your survival rate climbs steadily.